이펙트아카데미 특강/외주/커뮤니티
 유니티 이펙트 제작과정 - 사슬로 감싼 폭발형태 제작
First time doing an event or competition for anything art related, lets see what happens!
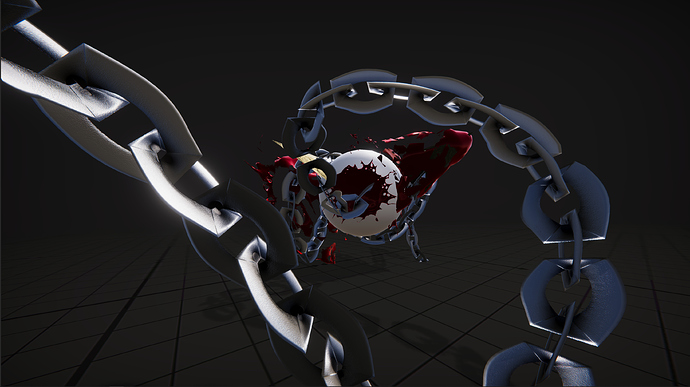
I’m going to create a few chains that sprout from the ground then pull the character to the ground as a Root.
HD Video (Slight Changes aswell) https://youtu.be/MoxwG17ujjM 30
Progress #1
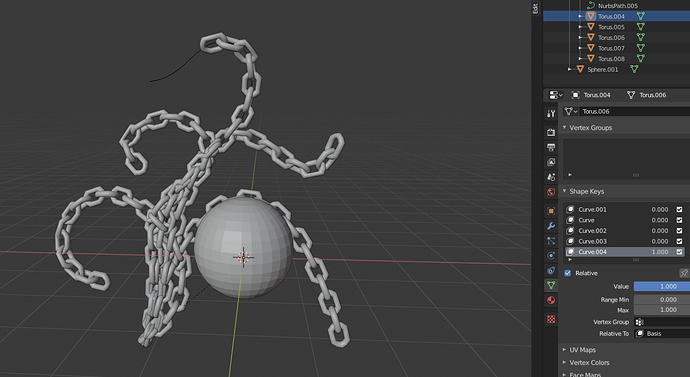
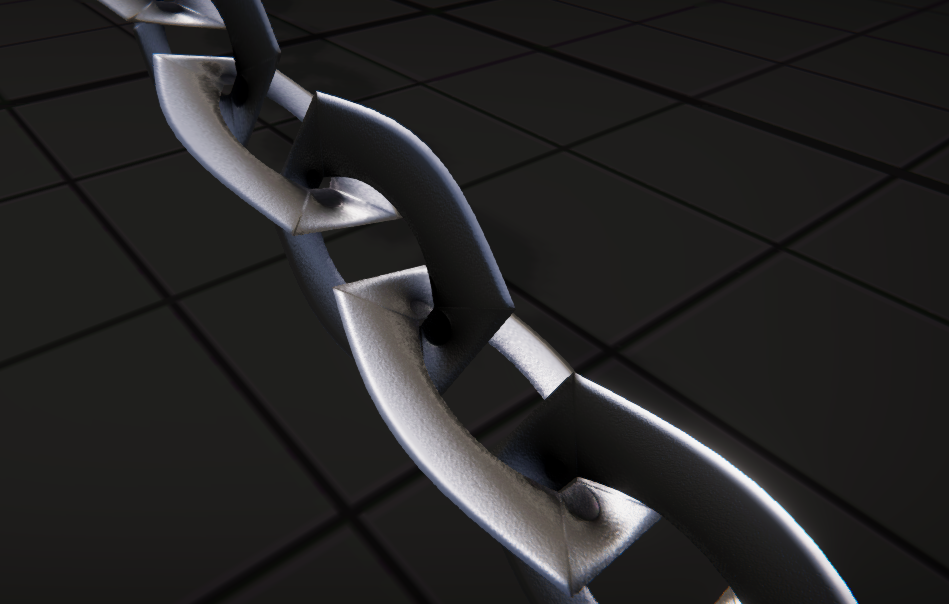
I created a chain of planes then duplicated them and assigned a curve modifier and then created a shape key to blend the two together.
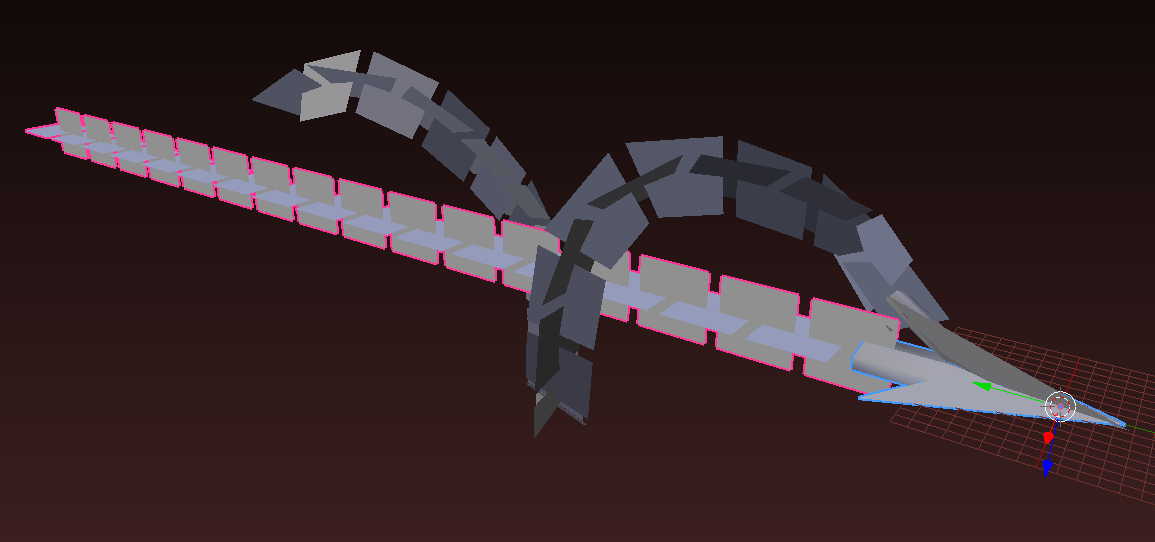
Then I created a simple segment of a chain and rendered them with only the shadows enabled to get a faked 3D feel when coupled with the above mesh
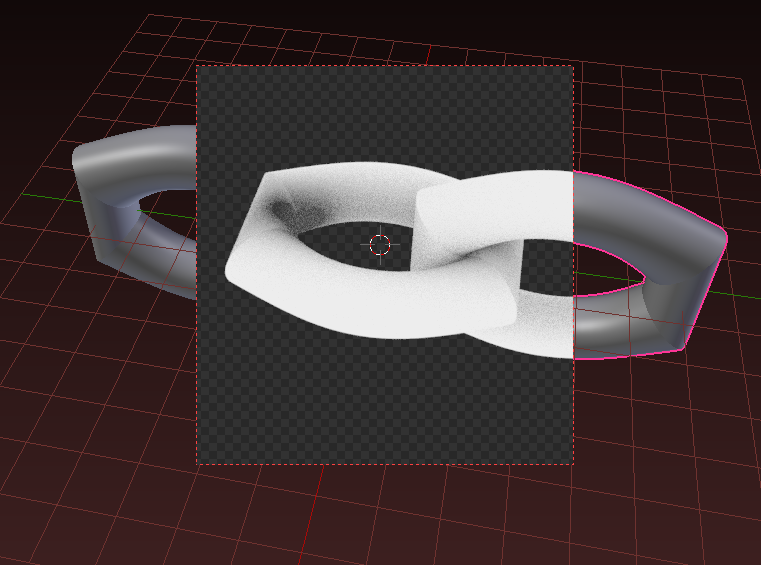
I also quickly put the render result into Photoshop to generate a normal map, apply that to the default cutout particle shader, and tested the shape keys

Then a simple scene with a floor shaped like this
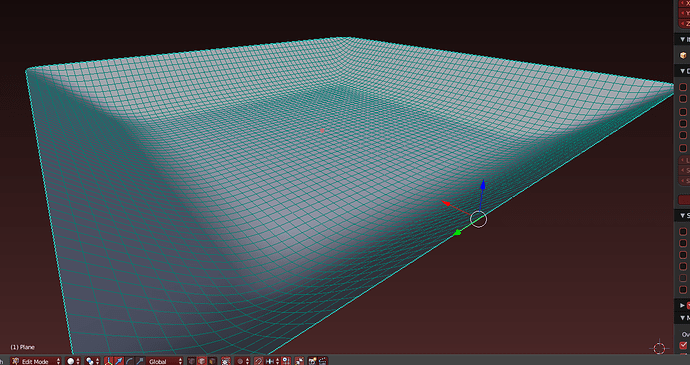
I need to work on animations and some smoke sims, Might try out Houdini at some point, Who knows!

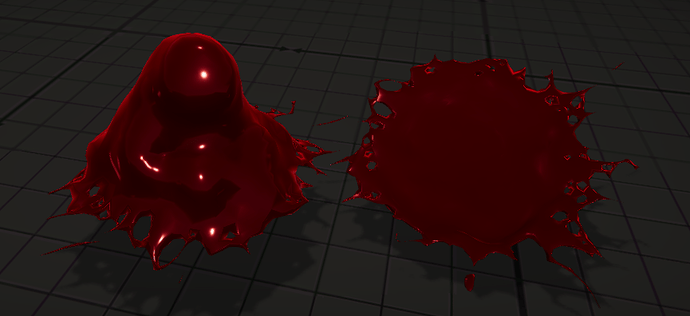
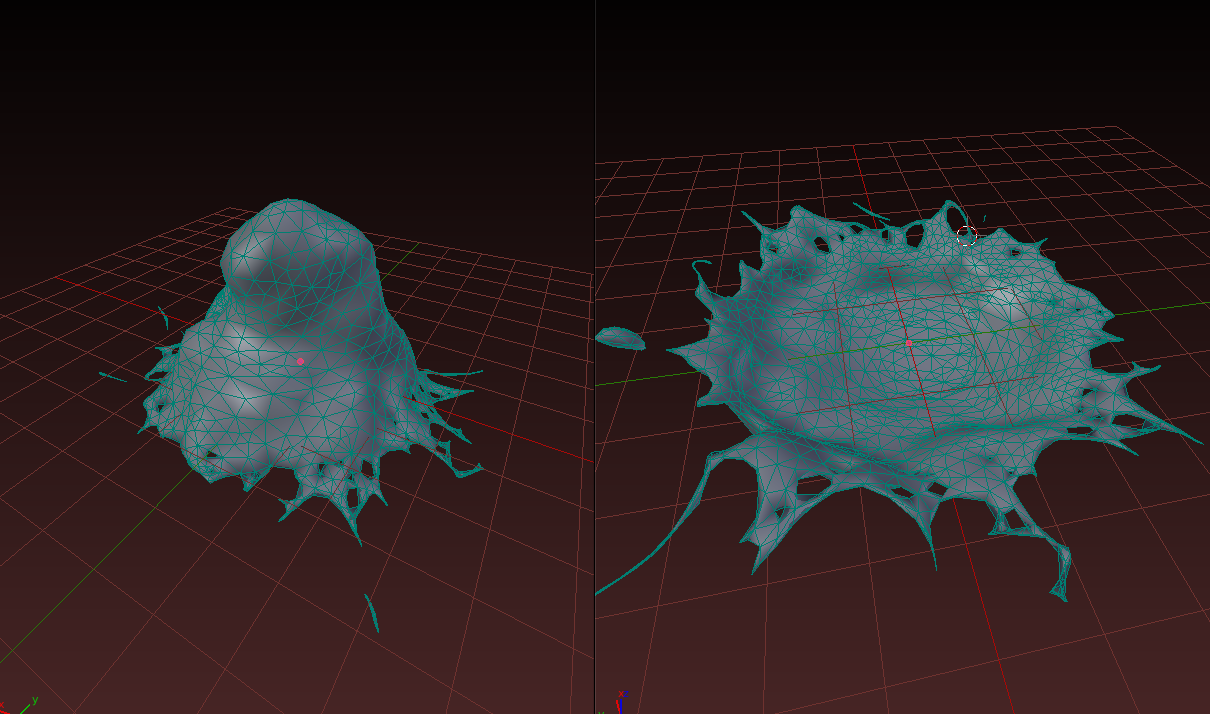
After some time of messing around on Houdini I came to the conclusion that I can’t export because I’m broke and had to redo my fluid in Blender, However not to fear as It came out better and smoother than Houdini, (who would have thought)
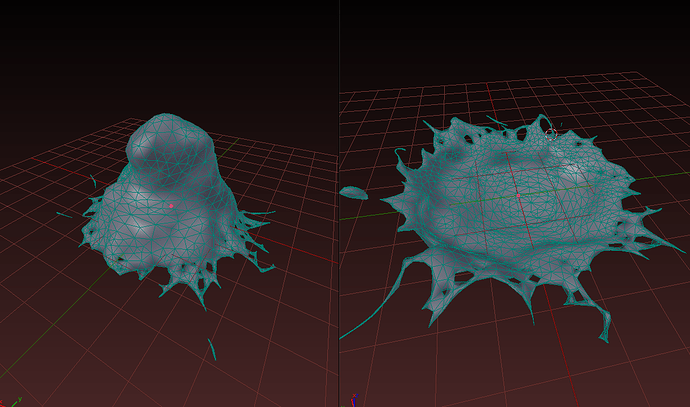
Then I played around in Unity forever again and made things look not crappy…
https://twitter.com/JuaneGray/status/1148193104492580864 31
I edited the values, I semi want it to be Grungy, but yeah, 3am right now, I will work on it tomorrow/today haha some other pictures that I just tweaked a tiddle

I ended up redoing the entire thing from scratch because I felt it was off.
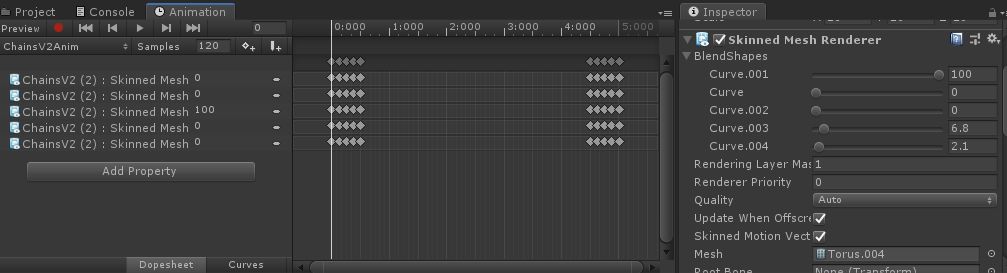
None the less steamed into the next phase, same concept, chains and root, but this time I used blenders curves to drive the shape keys for the animation (Previously 2.79 did not have “Apply curve as shape key” under their curve modifier). And instead of making a 2d plane, I decided to use low poly mesh since the effect wouldn’t be demanding on mesh or overdraws.
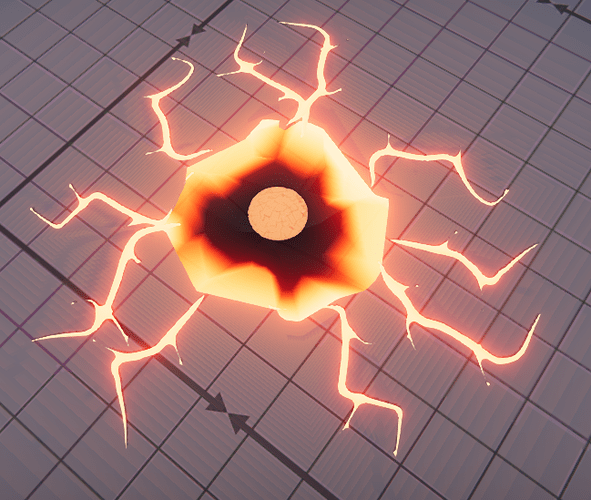
I then created some materials, nothing too fancy, just some world position with offset and multiplied that with a color (Glow)
For the dent I placed the ground mesh on render layer 1999 and the dent on 2000 so it would render infront of the ground but behind any mesh.
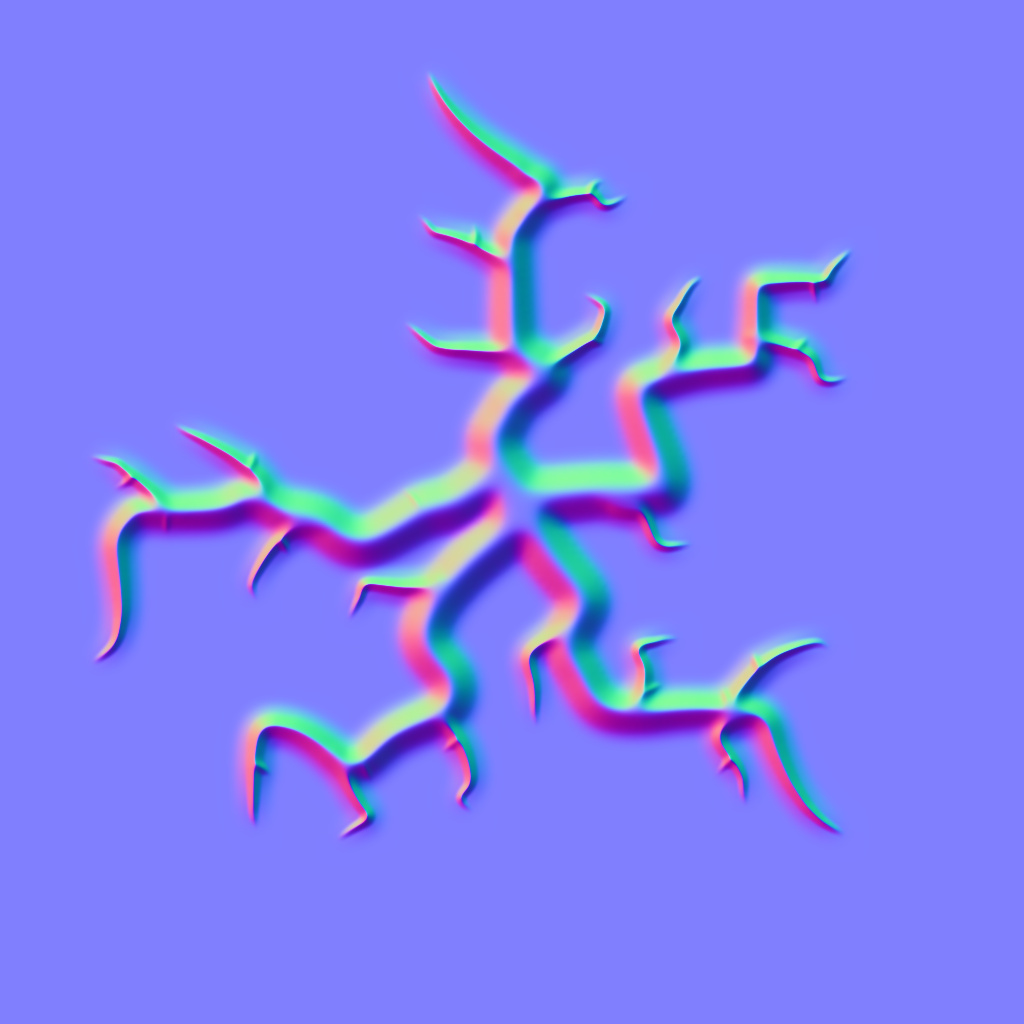
I drew the cracks in photoshop by hand using a soft brush then applying the “Maximum” filter.
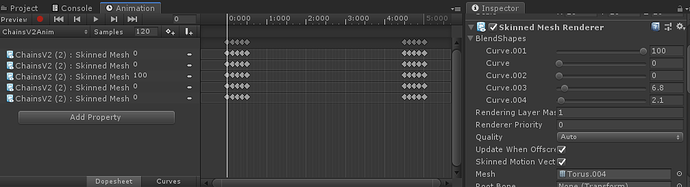
Applied custom animations to a lot of the objects and coupled them with event ticks inside the animation to call a public method “Spawn Gameobject” and this in born
Video in next post
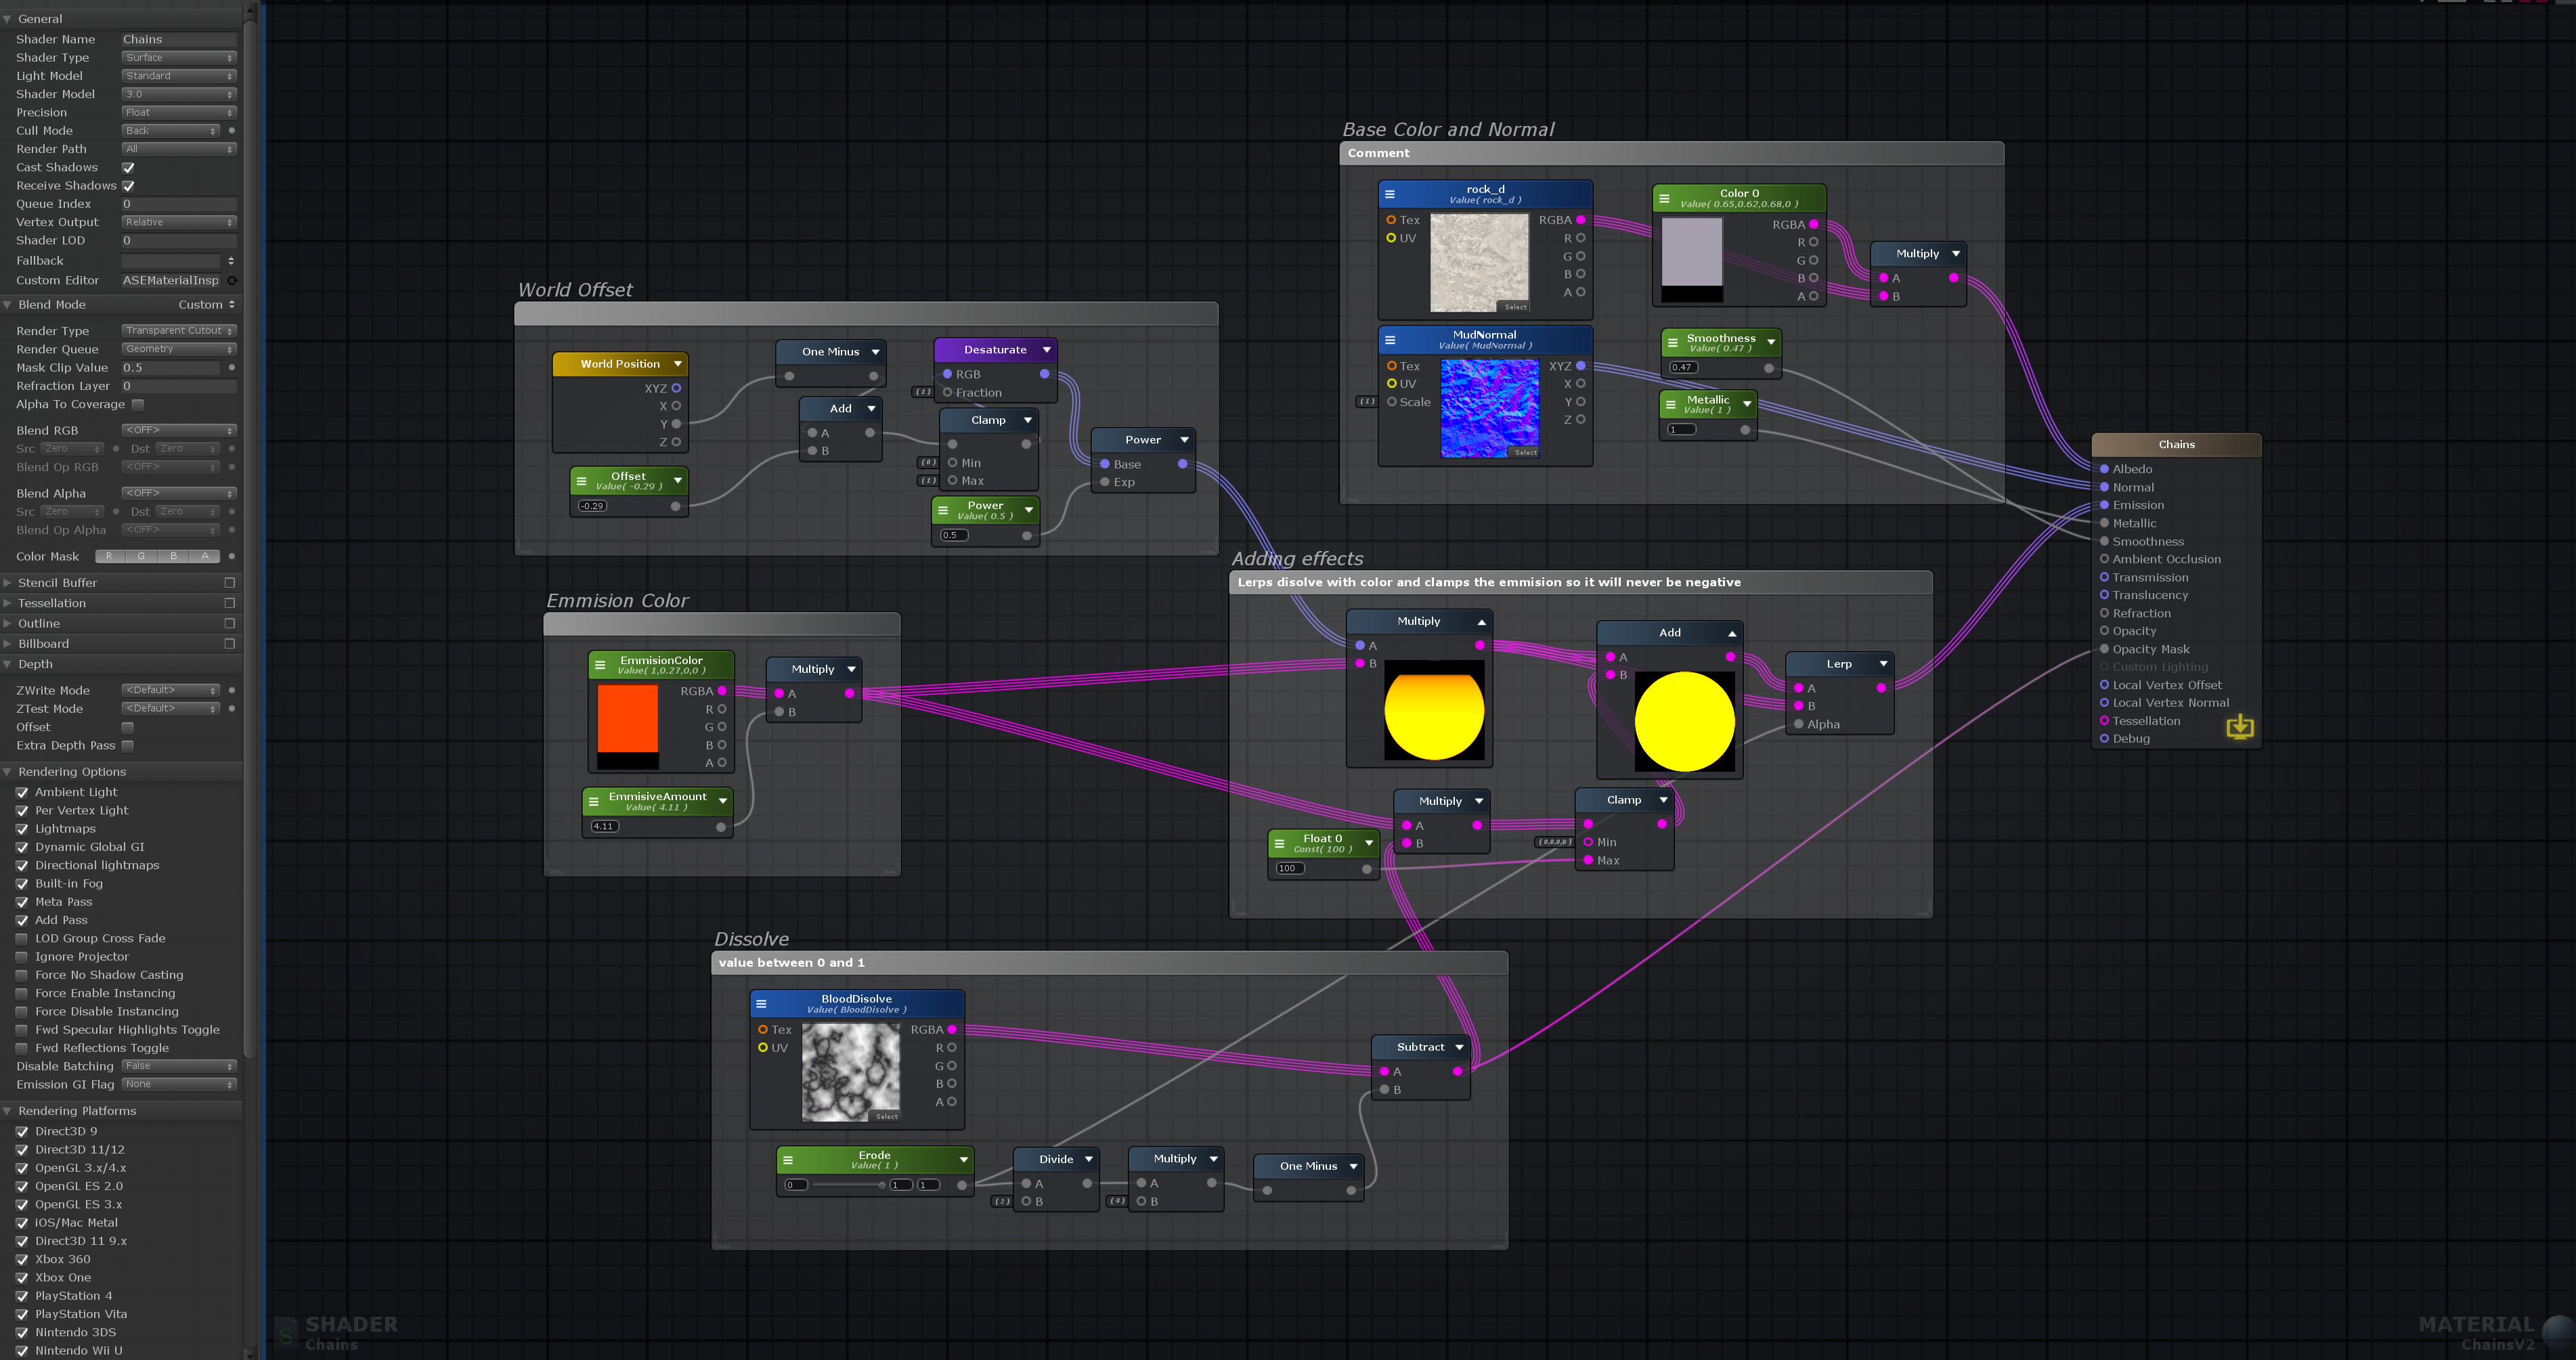
Here is the Chain Shader (If you wanted an easy dissolve) also added the dissolve texture generated in Photoshop
Oh and as for the floor mesh that explodes, I created a cylinder with no caps, grid filled the top and bottom, subdivided it and then applied the cell fracture add on (enable through prefs) then I simply smart Uv projected each part (100 of them). Inside unity I applied a mesh collider (convex for rigid bodies to work) and applied this script to the parent FBX
public void Start()
{
    foreach (var objects in Bricks)
    {
        var dir = transform.position - objects.transform.position;
        var distance = dir.magnitude;
        if (distance <= reqDist)
        {
            objects.transform.gameObject.GetComponent<Rigidbody>().AddForce(dir * forceAmmount);
            objects.transform.gameObject.GetComponent<Rigidbody>().AddForce(Vector3.up * upForce);
        }
    }
}
that way they are forced from the center out and some are forced up (like a mushroom cloud)
Here are the Cracks alpha mask and Normals

Comments