이펙트아카데미 특강/외주/커뮤니티
 유니티 쉐이더 팁 - Rime 스타일의 폭포 제작
There are games with such a memorable visual that it is terrible to consider the time spent on its development, take at least the latest God of War or RDR2. And there are projects that bribe their atmospheric, even if they are far from AAA. As an example, RiME has been praised for its style, sound and history. And recently, the level designer of the game went to the CD Projekt Red team to work on Cyberpunk 2077. RiME also inspired 3D artist Math Roodhuizen to create his own art.
And amid all this, I stumbled upon ArtStation on a realistic water creation guide. If last time it was about the river, then this time about the stylized waterfall. In the first part we will explain how to create a "ripple effect", and even directly in the game engine. For convenience, all steps are accompanied by gifs and / or pictures.
First, thanks to Simon Trumpler, an artist from Tequila Games who worked on RiME . I was still new to shaders and VFX when I found his stuff and thought, “Wow, can I be able to do the same?”. I recommend reading the report to learn more about how to create stylized effects (such as fire, for example).
Now let's talk about the creation of a waterfall. This will be especially useful for people who are not familiar with the Shader Graph system. Our goal: to learn new ways of working and better understand the shaders.
I will use the example of Unity, but most of the methods are applicable in UE4 - if you are used to working there, just follow me. For convenience, each step is visualized by a gif or picture.
So, you will need:
- Unity 2018.
- Amplify Shader Editor (Unity plugin). But if you do not want to spend money on it, install Unity 2017 and download the free Shaderforge from the asset store (the new version of the engine does not support this plugin, but it still works in Unity 2017). Both tools are almost the same, except that some moments are called differently.
- Autodesk Maya.
- Something to create or edit textures. I use Photoshop, and sometimes even Substance Designer (but you definitely won't need it for this waterfall).
First, about the "ripple effect" that occurs when a waterfall falls on the surface. It can also be used for other purposes, for example, to create pulsations around objects in water.
Open Unity and make sure you have the shader plugin installed. At the time of this writing, Unity has its own Shader Graph, which is still being developed. And while it’s not ready, I still recommend using the Amplify Shader Editor for Unity 2018 or Shaderforge in Unity 2017.
Create a new material and give it a name (I have it MAT_WaterWrinkles). Then right-click on the material in the Project Tab and go to Create> Amplify Shader> Surface Shader. In this case, the new shader will automatically apply.
You can select a shader at any time in the Materials tab> drop-down list of shaders (for Shaderforge there will be something like a PBL shader). Remember that the shader must be named both in the folder list and in the shader itself after it is opened.
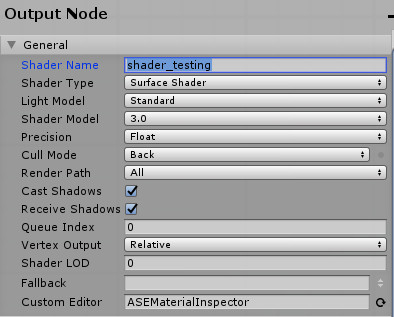
As soon as you open a new shader, you will see something like this:

I will not write a detailed guide on the use of Shader Graph, and if you are completely new, first read the introductory guides.
In any case, to get the desired effect, we first need the usual Panner. Here it is with a test texture on the plane:
Panner moves the UV coordinates. Make sure the Wrap Mode texture is set to Repeat. In Shaderforge, you may have to connect a temporary node to the Panner input, with Amplify some of these basic values are already included in the node itself.
So, we have a moving texture. But we want to achieve this effect:
And for this you need to scroll like this:
As you can see, the structure of the node is the same - Panner simply moves the UV coordinates in the U and V directions (or X and Y). To get the right panning direction, we need to create a custom grid with UV. GIF for clarity:
By applying the same material to a different grid, we can control the direction of the texture in 3D space when it moves in the UV space.

To enhance the effect, add a few more polygons and distort UV so that the texture in the center moves faster than at the edges. And place the UV so that the seam is not visible.

An important conclusion follows from this: good effects rarely consist of one system and often represent a combination of several.
We got the texture moving in the right direction at the right speed. The UV sweep is placed in such a way that moving from right to left in the UV space with Panner turns into a movement in and out in the 3D space. To avoid seams in the texture on the 3D model, UV sweep must be added (hotkey X for snap to the grid) to the vertices of the texture space vertically. As a result, we have achieved the desired effect.
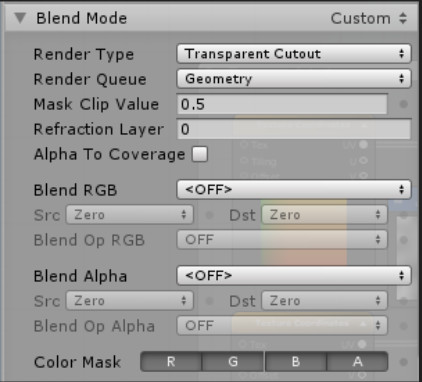
Now the transparency. Let's start with the basic things. Many simple calculations that you do in a shader will have values from 0 (black) to 1 (white). That is, 0.5 is a shade of gray, and 0.2 is a shade of dark gray. When you apply these values (in this case to the Opacity channel of the main output node), you will control the level of transparency of the material. Keep in mind that you first need to enable this feature. In Amplify, you can change the rendering type (in blend mode) from opaque to, for example, transparent. In this case, we will use the rendering type Transparent Cutout - the pixel displayed by this material is either completely transparent or completely opaque. This can be seen on the gif above - there are no "translucent" pixels displayed by this shader.
Take the gradient texture in increments and place it on the shader. Here it connects to the output of the albedo (color) main node.

And here it connects to the output of the Opacity Mask (this parameter is enabled when rendering type is Transparent Cutout).
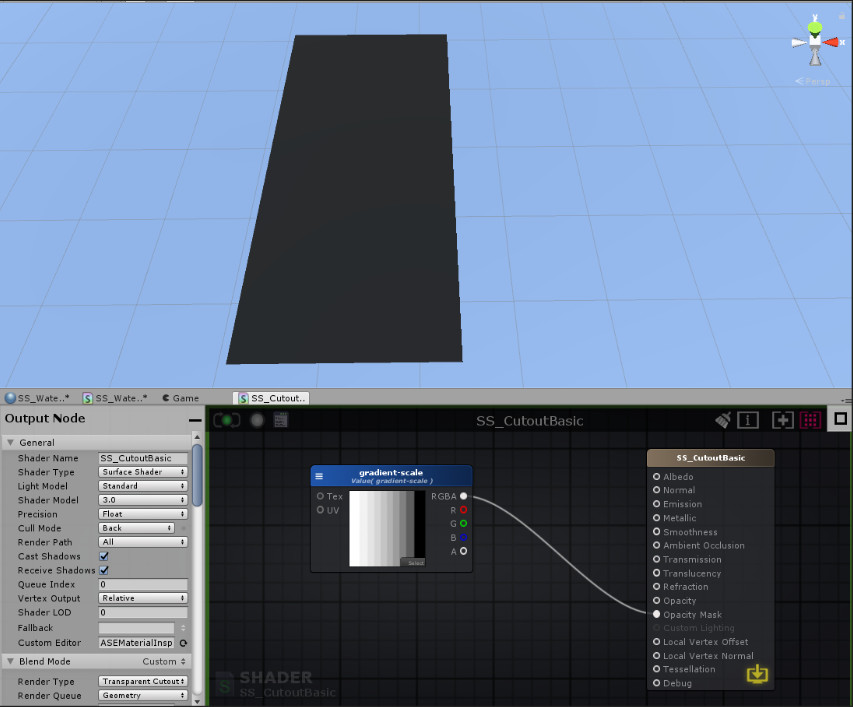
You can see that the gradient texture uses black and white pixel values to determine transparency or opacity. Everything from 1 (white) to 0.5 (gray) becomes opaque, and everything from 0.5 (gray) to 1 (black) is completely transparent (or not displayed at all). Opacity Mask creates a hard line and rounds the values to 0 or 1, depending on which number is closer.
Another grayscale texture:
Connected to the Opacity Mask:
You get the idea. And guess how you can use it:
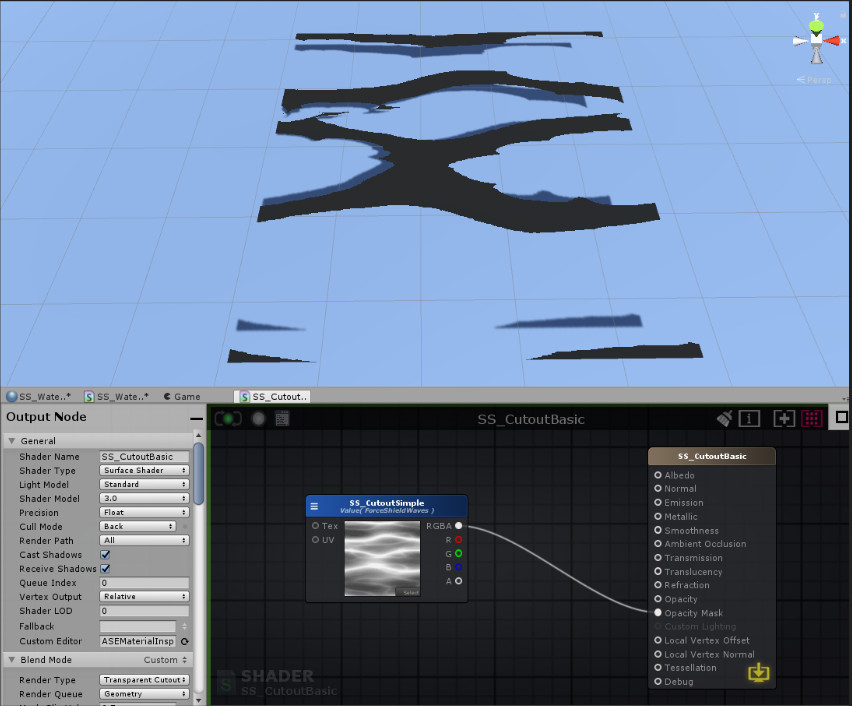
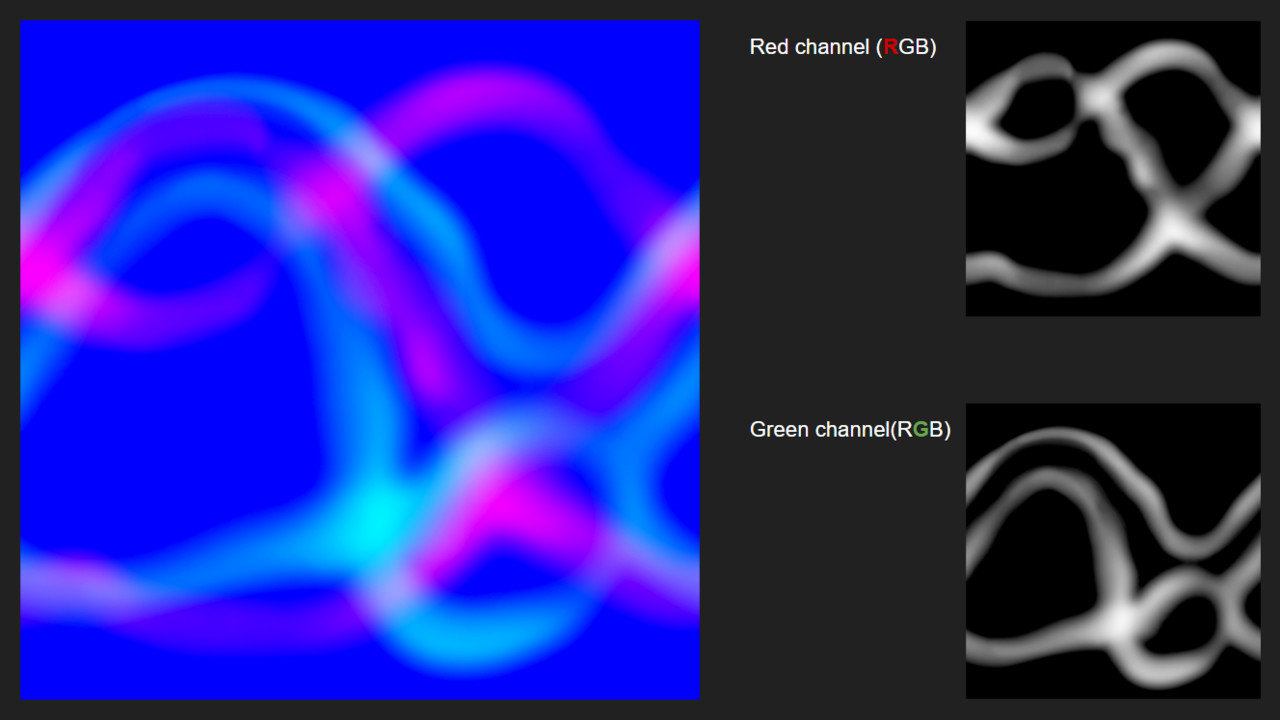
You see a mostly blue image scrolling in the Shader Graph. And the fact that I use only R (red) output of this node. For the sake of optimization, I packed two grayscale textures (grayscale textures) into one file, but this is not necessary. Similar images can be packaged using Photoshop or Substance Designer.
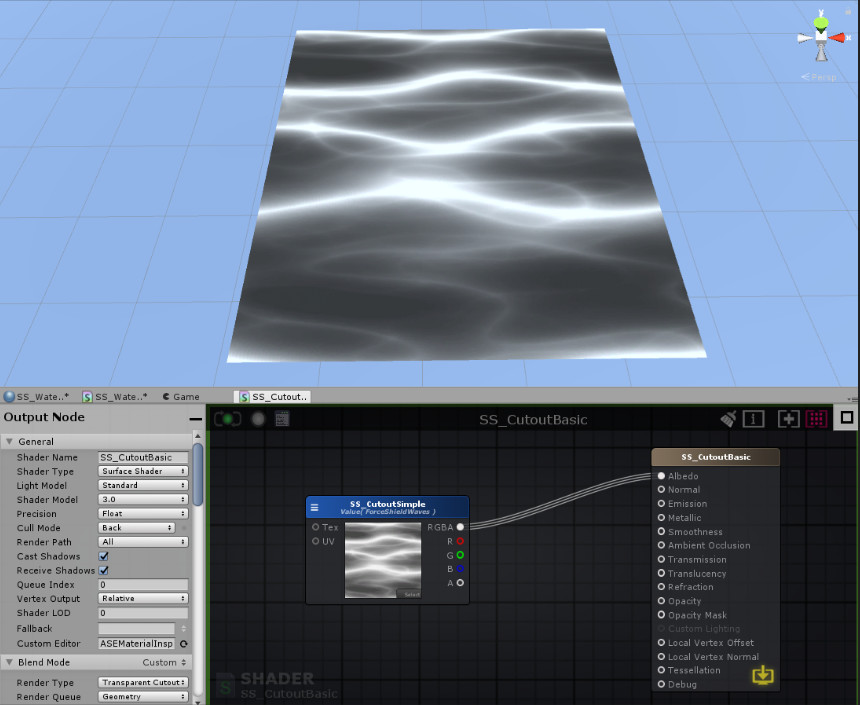
The ripple effect is a good start, but you can do better. Why not put two grayscale textures on top of each other to make the ripple effect more random?
I use the same texture, but I add different channels. I scroll through them at different speeds and slightly in different directions. The texture has a good gradient of gray values, which gives the feeling of a random ripple effect.
There is one more thing on the next gif that we haven’t discussed yet - so your option may look a little different:

You can see, for example, a pixel with a value of 0.2 (which is not rendered) passes over a pixel with a value of 0.4 (which is also not rendered) and suddenly becomes a pixel with a value of 0.6 - because we use an additional node (0.2 is added to 0.4 and it turns out to be 0.6). Adding these two wave grayscale textures on top of each other at different speeds and gives close to the desired effect.
Here, to demonstrate the result, I added grayscale-textures on each other in Photoshop.
However, the seam at the end of the mesh is still distinct. And we need to get this:
Instead of this:
In the first of the two gifs, the pulsations slowly subside and become smaller as they approach the edge of the grid. The easiest way to do this is to use vertex color (vertex colors).
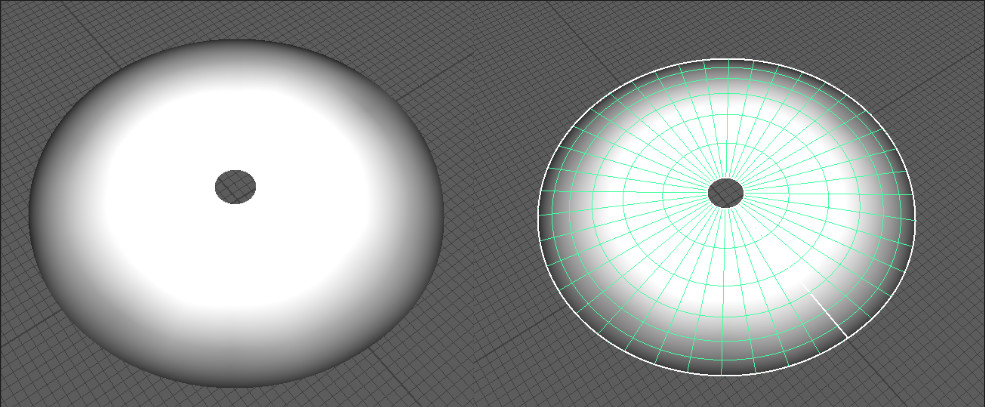
Each model vertex contains its own data (for example, X, Y, and Z coordinates), as well as a color that has a value from 0 to 1. You can also set the color of the vertices in the 3D editor.
Most of the outer vertices are black (that is, they have a value of 0). They become white (closer to 1) when approaching the center. Note that you will need additional Subdivisions to get vertices that can be colored.
For example, in Maya for coloring, you can go to the Mesh Display> Paint Vertex Color menu and click on the More Options field.
Now we can connect Vertex Color in our shader using Multiply.
I applied a gradient over the textures used and set the layer mode to Multiply.
The gradient enhances the gray value to 0 (black), so it will be more difficult to render the pixels (they are not displayed below the value of 0.5). This leads to the fact that the ripple lines shrink closer to the edge (the colors of the peaks mainly act as a gradient).
I added a few more nodes to control the thickness of the ripple lines. Here is the complete graph:

Just experiment with the speed / direction of scrolling, adjust the texture and try to change the tiling to squeeze the maximum out of the effect.
This will help us in creating a more complex shader - a waterfall. We'll talk about it in the next part.
Source: https://habr.com/ru/post/434620/
Comments


멋지네요~ 감사합니다.