이펙트아카데미 특강/외주/커뮤니티
 언리얼4 - 버텍스 옵셋 예제와 노드
(eVan님의 언리얼이펙트클래스정보 : https://cafe.naver.com/unrealfx/17946)
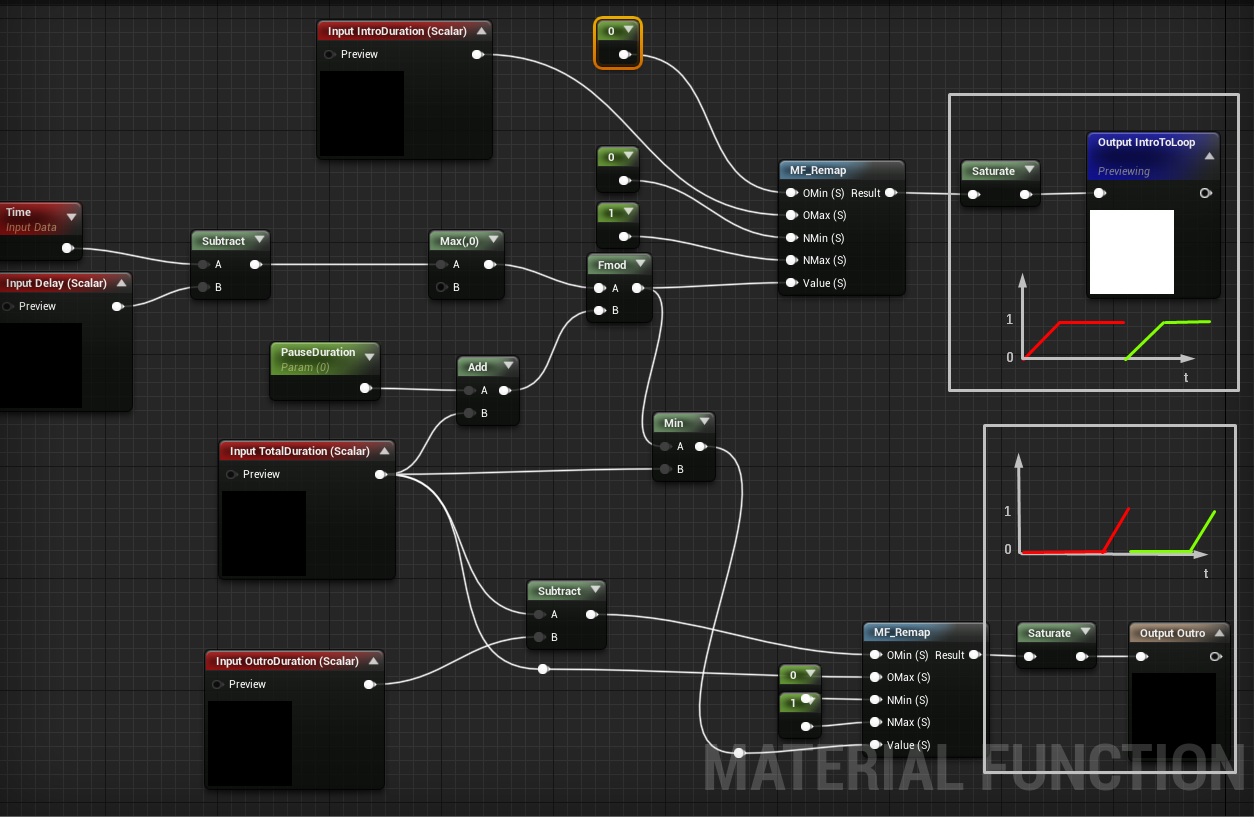
Ok now about the Intro Loop Outro. I set I up like this. Intro value grow to one and stay at one. One will be my loop value . For the outro It’s similar except that the value return to 0 ones it’s done and the loop can restart. So in this function the key is Fmod (modulo) my time will incrase to my total duration and return to 0. Now I can use these result in different lerp to switch between different states and to manage the dynamic of the transition you can use a Pow(er) or a curve atlas if you want to have more control on it .
And now I want to share you a recent discovering. This node call Virtual Plane Coordinates can save you.
The main use case for me is when I want to do a projection in function of the camera.
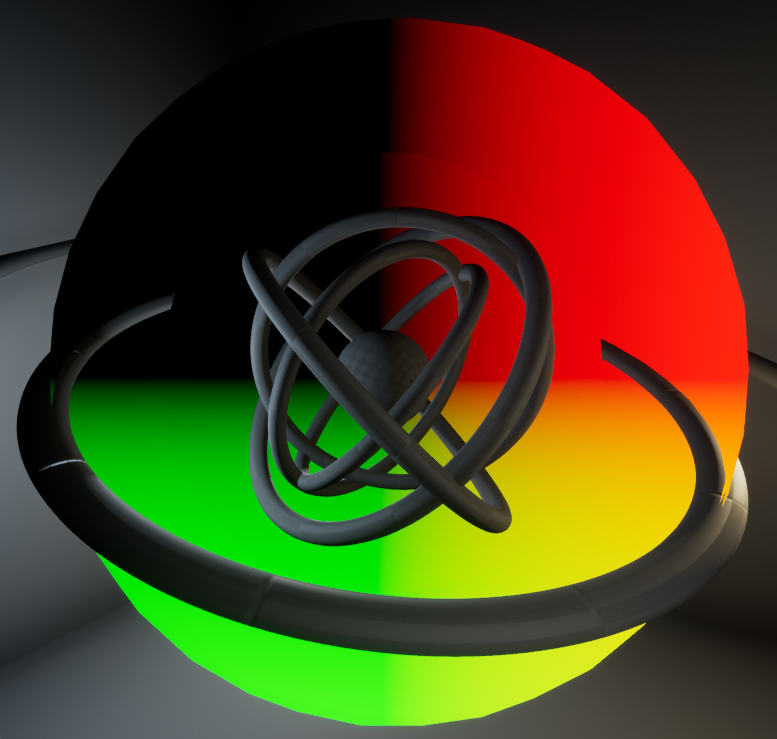
Basically I used it as a kind of screen position coordinate with the particularity the (0;0) of the UV is not on the top left of the screen but a defined anchor point.
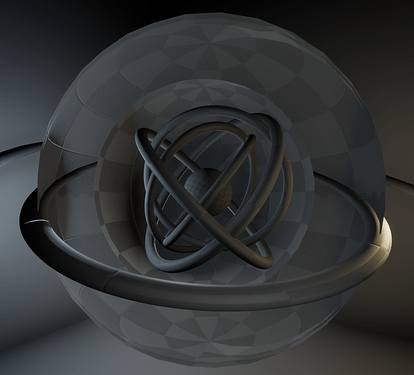
I this case the pivot of my object will be my (0;0) . Here I wanted to have UV scale feeting with my sphere so one and minus one should be on the border of the sphere. To debug it I recommend you to use an Abs (absolute value) followed with a floor (to see the step when the value is higher than one) and a saturate on a min(1) (to don’t burn your eyes in the first time ) , this debug should be applied after the divide. In the effect I used it to create a background facing the camera, so it’s applied on the sphere with the reverted normal .


