이펙트아카데미 특강/외주/커뮤니티
 World of Warcraft VFX: Overview from Luis Aguas
Luis Aguas, an FX artist from Blizzard, talked about the production of awesome effects for World of Warcraft: Battle for Azeroth, VFX components, techniques and more.
UPD: We asked Luis to edit the ‘self-taught part intro’ to avoid confusion.
Introduction
Hello! My name is Luis Aguas. I’m 24 years old and I am a FX Artist from sunny South California. I went to school at The Art Institute of California – Inland Empire for Game Art in 2012 and learned generalist game art development skills, however I learned VFX on my own. I graduated in 2016 and have been at Blizzard since then as an associate FX artist on the World of Warcraft team!
Funnily enough, I didn’t specialize in FX, as there was no program for that at my school. I was taught as a generalist and learned a little bit of everything from traditional concept art and 2D animation to 3D character modeling and level design.
It wasn’t until my last quarter in my 2nd year in college that I made the conscious effort to figure out what I wanted to specialize in. I remember talking with friends at a restaurant freaking out about it. I understood how to do a variety of things related to game development; I just wasn’t confident in them.
Later that same year, a colleague of mine introduced me to “particles” in Unreal Engine 4. And that’s when it clicked. I finally decided, “I can see myself doing that. That looks like fun!” The only problem was not having an industry professor to teach me. So I searched online and found a lot of helpful resources.
I didn’t even know that FX artist was a career path. Not only was I learning something new, but I began to understand and break down effects from my favorite games.
I’ve known about World of Warcraft since 2005 when my older brother bought the game alongside his college friends. We also only had one computer, so my parents told me to just watch him play. It wasn’t until 2010 when I started playing, and I haven’t stopped since then.

In 2015, I attended my first BlizzCon. There I met a Blizzard senior artist. They took the time to sit down with me and chat about their experiences working at Blizzard. I kept in contact with them over the course of my senior year. Their feedback was what I needed to take my student work to the next level.
Visual Effect Components
There are three key components that make up any visual effect. Shape language/silhouette, motion/timing, and color/value. You will find these core principles in every game. However, their application is what sets them apart.
It’s how to differentiate styles. Hand-painted vs. stylized vs. realistic. All there are types of visual effects, yet they are executed differently. The exaggerated shapes and explosive timing of stylized effect have a heavy silhouette-driven aspect to them, while realistic effects mimic what we see in real life.
The painterly style that we created on World of Warcraft is heavily influenced by the world in which they exist in. The quality of the brush strokes and craftsmanship are just as important as clear shape language and sharp timing. And that’s just the first half of what creates a World of Warcraft effect. The technical side is also important. They go hand in hand during production. Think of it like a blacksmith and a warrior in an RPG. One knows how to create the sword, and the other knows how to use the sword. Now put them together, and you have an FX artist.
Visual effects can turn into a rabbit hole very, VERY quickly. Every piece is vital in achieving a polished result. From the flash at the start to the sparkles you sprinkle at the end during the polish time. Yet the three core principles remain the same. Shape, timing, and color.
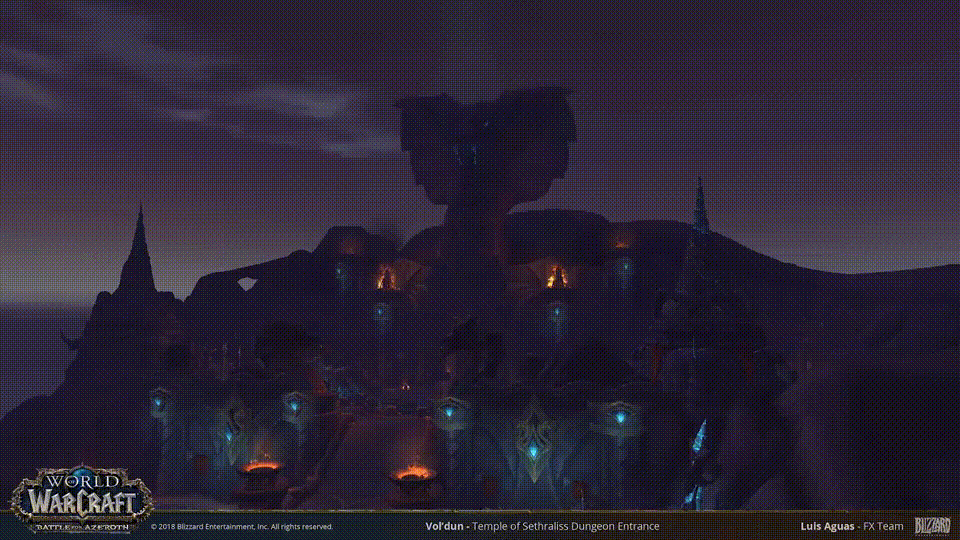
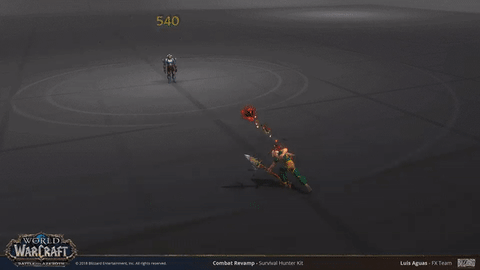
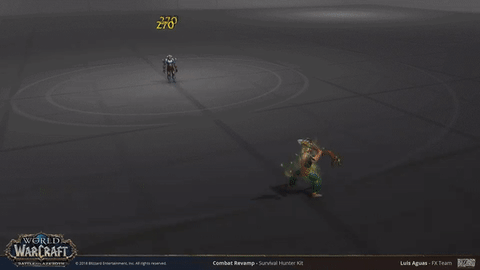
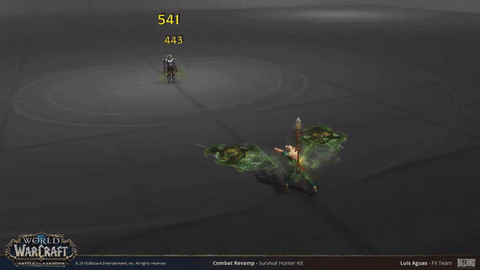
Beams Production

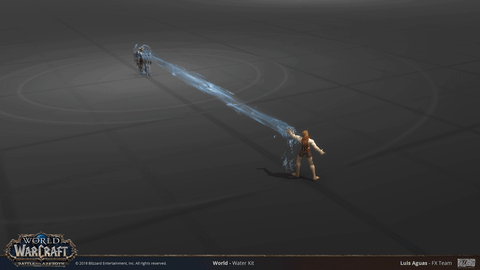
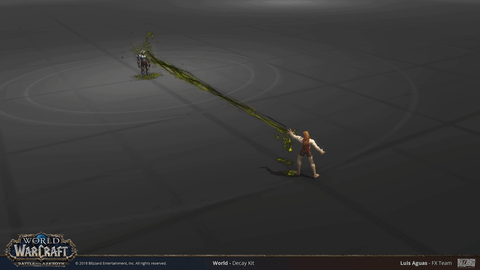
These channel effects are composed of three different parts. The first is a channeled effect on the player’s hand as they are casting it. The second is the beam itself. And the third is the impact that is channeled on the target.


The effect on the player’s hand and on the target are like each other in order to establish a visual connection between the caster and the target. Now each part is further broken down into multiple parts, which I will go further in-depth on when I talk about the Drustvar magic, as the same technique is used to create visual effects. Layers!
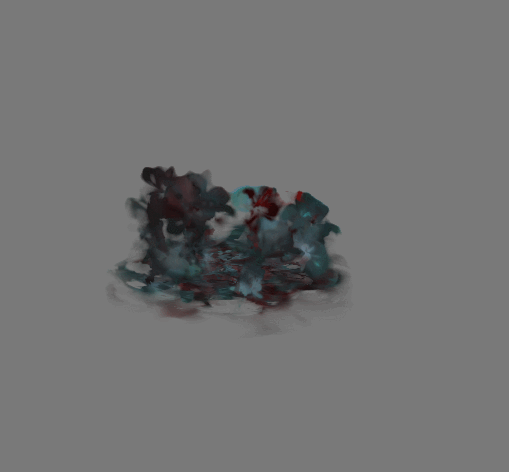
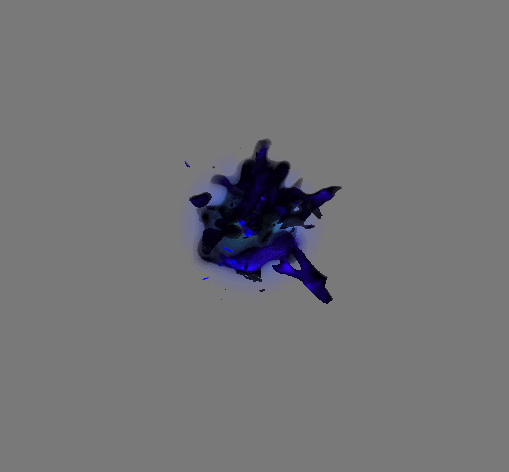
Layers in VFX


The Drustvar witch magic was created by Senior FX Artist Sarah Carmody and later expanded on by me and other members of the team. The visual development for this look first began with a couple of emitters that focused on the harsh pitch black with cyan blue accents. As the foundation for this visual was already established, I simply had to create a suite of visuals that fit their purpose.
Whether our goal is to make a magical barrier to block a road or a pathway, a portal to summon in and out of, a shield to protect from damage, or a giant whirlpool of dark nasty magic, we first start with the visual’s purpose and then move onto its creation.
When you say “layers,” most digital artists will think about Photoshop and how their layers system stack on top of one another. Visual effects use a similar system of layers in the form of emitters and render priority. This system works with geometry and emitters within the same scene, 1 being the base, 2 going on top of that, then 3, 4, and so on.
Regarding these effects and layering, I put the darkest parts behind everything and the brighter parts in front. This creates a contrast that makes the visuals pop.

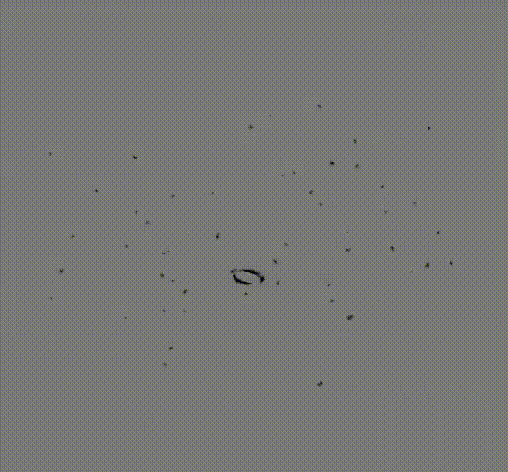
Lastly, the bits. Bits are like the “sprinkles on a cupcake.” They are the last layer and go on top of everything. This ranges from sparks at the end of an explosion, dust that’s left behind by an impact, or in this case, black pieces of magic floating in and out of existence.
Splashes

Everything in my demo reel was created using 3ds Max and Photoshop. I begin with an alpha mask and figure out what general shape of the effect I am working on, then create textures to complement the substance of it—in this case, liquid gold. This effect is only two textures.
The real magic is in our particle editor and in the dissolve parameters, also known as alpha crushing or erosion.

A lot of our new disease, nature, and nasty green, vile visuals used this technique to achieve a harsher, crispier, sharper, thicker look to the particles without having to dip too far into the procedural technicality of effects.
Timing
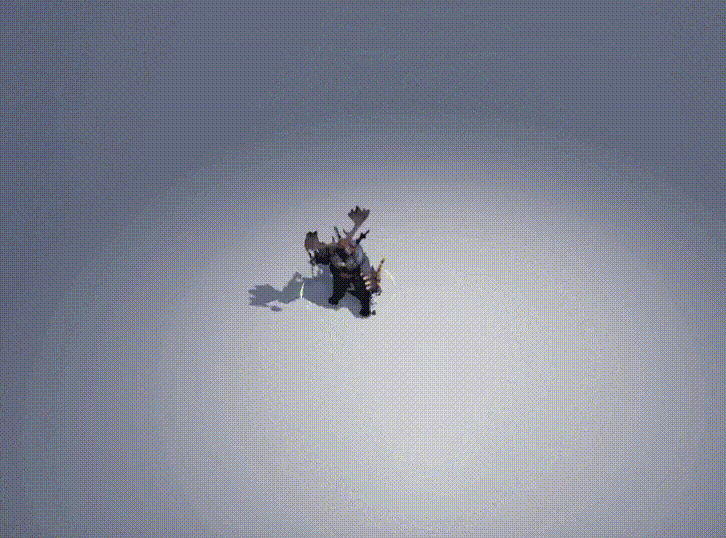
Timing is the one thing that will make your audience go “wow!” or “hmm, that’s okay, I guess.” The way I approach this part of the production is to play whatever effect I am working on and play it over and over. And then play it once more, and over and over. After staring at something for so long, you start to notice a “hitch” in certain areas and can pinpoint where timing can be tighter.
After that, I look at each part of the effect piece by piece and isolate different elements. I like to think of visual effects as a play. You have a beginning, a middle, and an end, and each part has elements that inform the next. This creates a structure where emitters have a cause and effect in relation to one another.

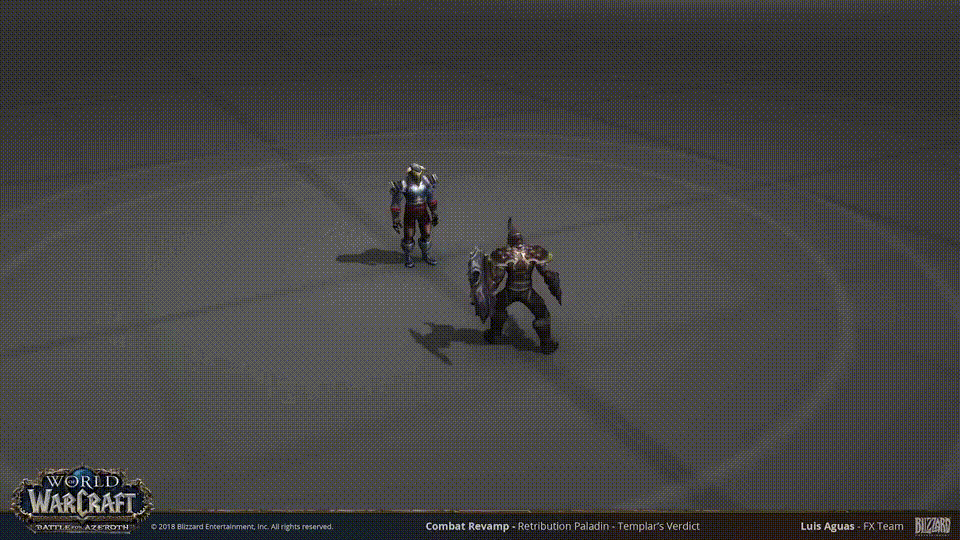
However, when you are working with a boss and their sweet animations (like a swipe or an attack), I take the time to study our animation team’s work by opening their file and synching up my effects to their work.
Another thing to keep in mind with timing is mood, atmosphere, and context. What will a player experience when they see visuals on screen? It’s something I ask myself and put myself in their shoes to figure out how impacting something needs to be or how subtle and gentle it should feel.
There is a running joke in the office about how loud and extra my effects are. It’s become something that my team knows me by. That’s mainly because I’m a huge anime fan and take inspiration from the shows I watch. So, I tend to start at the extreme of the spectrum and go overboard. Take things to 11 and then dial it back. My day to day workflow is very much problem solving and establishing a hierarchy of visual appeal.
The saying “less is more” is something that is very much true, especially as an FX Artist. But my job not only consists of creating something pretty to look at or cast. Visual communication is something I always keep in mind. The way an element functions should have a purpose in the effect.
It’s how I establish a coherent look. When I have an effect that has a lot going on, I take a step back and analyze what does the player needs to know. (Does this hurt? Should I stand in this? Will this heal me?) Visual communication starts during the conceptual phase and keeps things in check so that I don’t end up having an effect whose purpose was to heal but looks like it’s doing damage.
Testing Effects


What does it look like if 10 players cast this ability? How does this affect performance? Can you cast these multiple times in a row? Will the player see a precast if this is a proc and becomes instant cast? There are many factors that come into play and each scenario is valid. Our tools allow us to test these various use cases.
Just having these questions in the back of my mind really helps with making visuals coherent.
Keeping Balance
Lastly, I often take screenshots of my effects and in Photoshop greyscale them to check out how my values are doing. The same rules of illustration can be applied to a visual effect.
Sure, effects are real-time and moving, but screen space and economy of visual weight is very much something to consider.
This technique helps me keep things from not getting overwhelming to the player or stealing the spotlight. Stealing the spotlight is something that really becomes noticeable when effects are put into context. However, communication and collaboration are key to success when working with a large team.
Summary
Being an FX artist is like being a witch or a sorcerer. I get to create magic. And share that magic with millions of players all over the world. From problem-solving to painting ribbons and missiles, to creating high fantasy visuals, working on this project has been a lot of fun. Blizzard is a place where I can truly shine, and the freedom to be myself and express myself through effects.
Luis Aguas, FX Artist at Blizzard Entertainment
Interview conducted by Kirill Tokarev
Comments