이펙트아카데미 특강/외주/커뮤니티
 유니티 - 스타게이트 효과 참고영상
I just started and happy to join the sketch for this month!
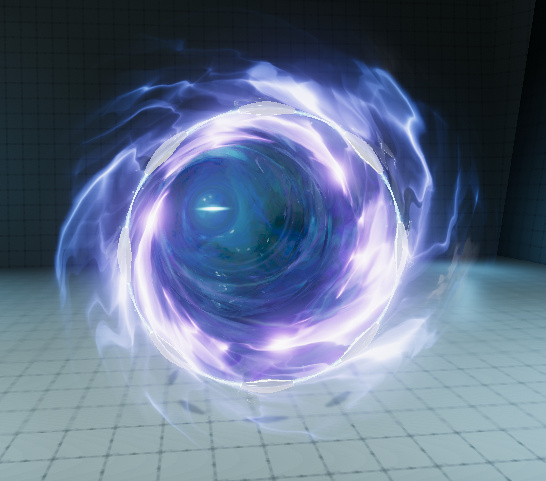
My approach is to create something like a colapsing space effect when the warptunnel builds up.
This is pretty early and I tried to get some shader tech done first to see if it works out the way I wanted it.
So far the collapse is done solely via shader math (took a bit to figure out independant per-triangle rotation hehe) and it’s great to save some iteration time. Gonna add some more elements on top of it to make it more interesting in the process.
BREAKDOWN STARTING HERE
I actually have some spare time right away so let’s go with a basic introduction :grin:
Polycount and basic mesh anatomy
Let’s start simple:
I used a couple of really low-poly meshes for this one. Nothing really complex here, I just used a couple of basic shapes, lots of vfx textures + custom shaders and a bit of vertex painting and UV stretching to control how stuff works.
The whole scene has ~14k tris, composed of:
1.6k for the environment,
6.7k for the physical portal elements (the floating ring),
and 5.5k for all the effects elements.
The scene in Blender
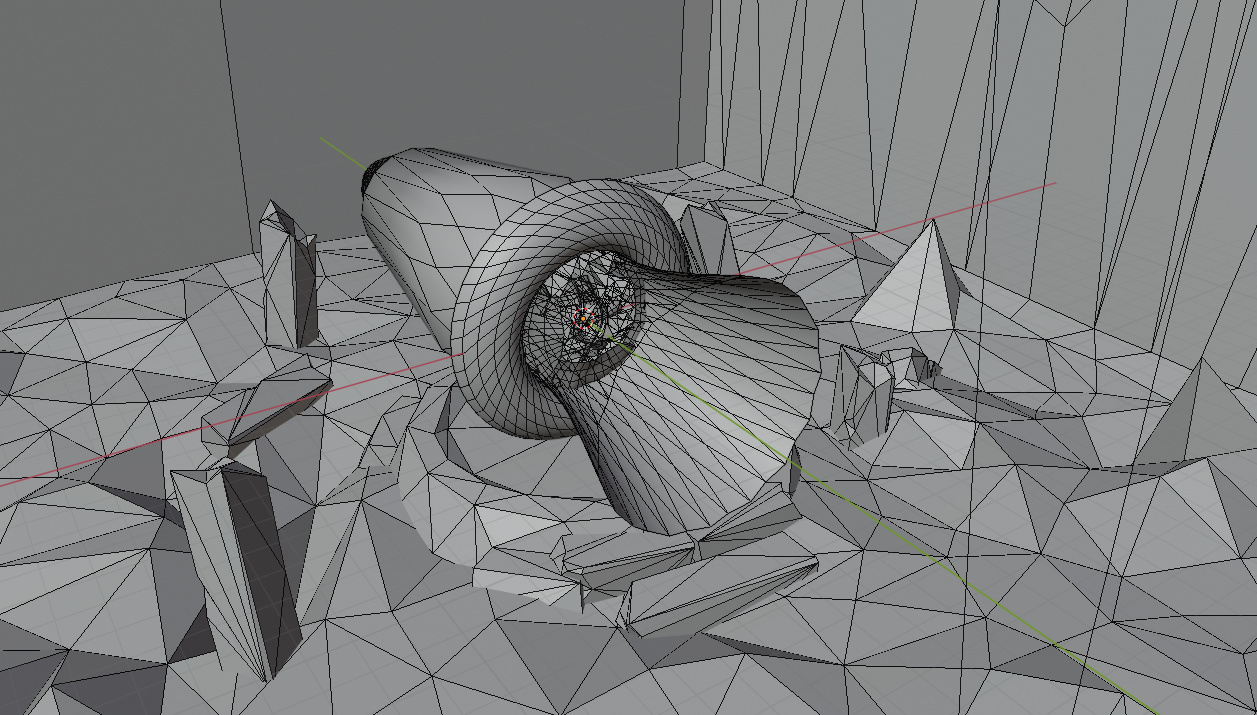
Here are some of the meshes with materials in Unity. You can see how simple that stuff is. As mentioned most of the look comes from textures and shader work. I just vertex-painted the mesh edges to get some fading in and out different parts of the overall effect and stretched the UVs a bit to control speed and stretching of the textures moving over the surfaces.
The gate element doesn’t have much special stuff going on. It uses the Unity standard shader and a very simple custom fresnel glow shader that I fade in via animation.
Meshes with materials
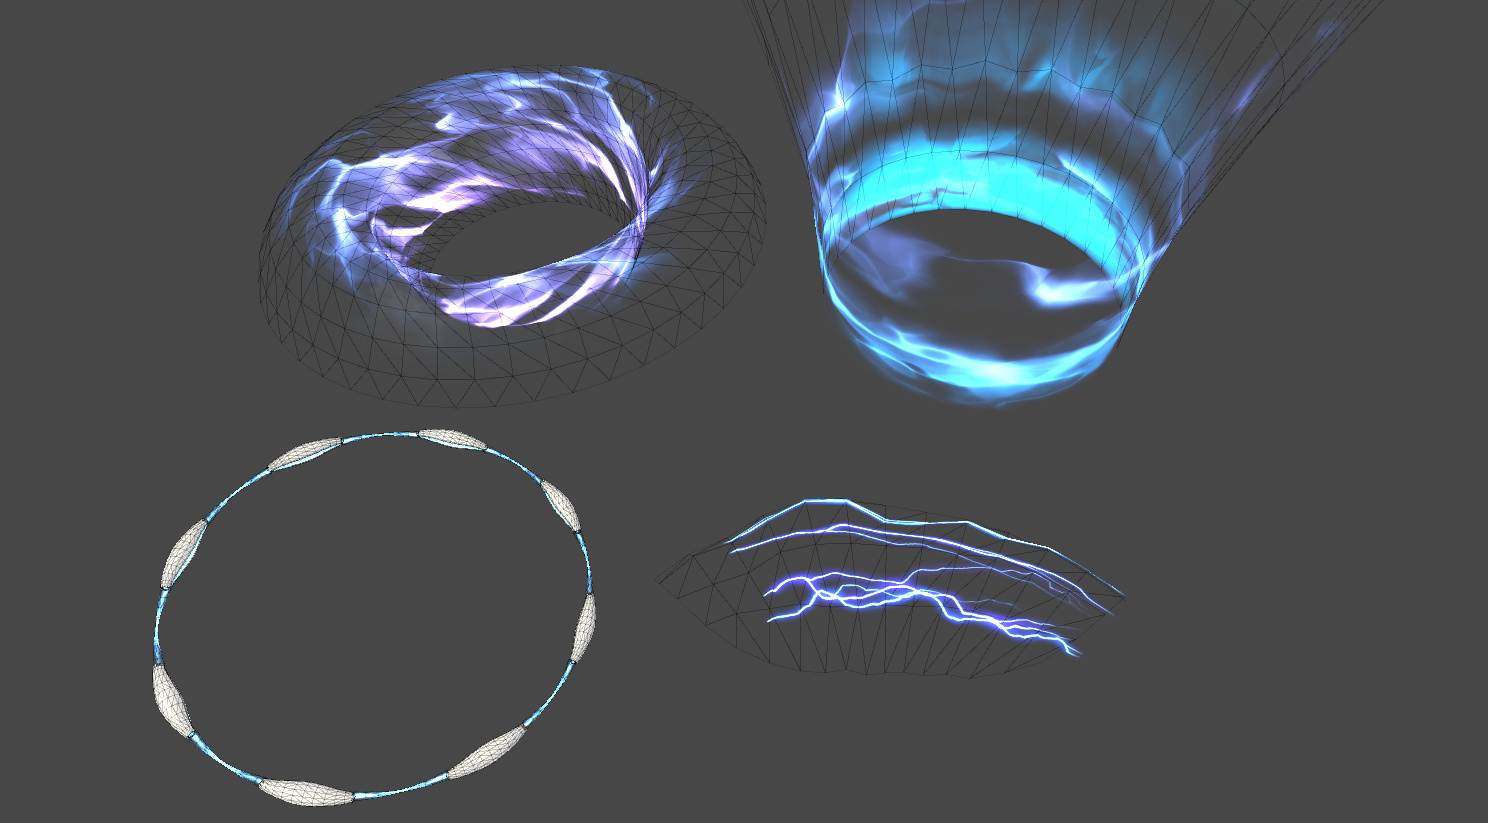
Meshes and Textures under the Shell
And here’s the continuation of the breakdown!
I also hope you post a couple of questions for stuff you’d like to know more in detail since I can’t really cover everything that happened over this month :slight_smile:
After looking at the meshes and some ideas about their constitution let’s get more into detail!
And I’d like to start with the original idea of the effect, the spacial collapse in the center of the gate.
The whole idea was heavily inspired by the recent and pretty amazing Fortnite finale. Though I don’t play the game you could hardly miss the amazing vfx if you stumbled across Twitter this month.
My take on this is probably a lot simpler and I’m just using a couple of pretty common concepts that should probably be possible to replicate in any common engine out there.
First, lets look at the interior mesh of the gate. In my case it’s a fractured triangulated circle that matches the bounds of the gate. I originally wanted to create this in Houdini but I felt that I didn’t get the amount of iteration time back compared to the amount time I had to spend to create a truely satisfying generator. So I went back to Blender, created a bit more manually but was satisfied in the end.
The triangle pattern was just a style decision and didn’t serve any other purpose. As mentioned earlier I was also inspired by Spiderverse and I just wanted to go with something that felt “out of this world” compared to the starting point :smiley:
Then with the mesh being setup I created a shader that basically grabs the content of the screen and packs it into a runtime texture, Unity’s “grabpass” feature. I had the mesh unwrapped with a flat projection so it basically filled the UV 0-1 space and created a texture in Substance Designer for it:
A crack pattern with derivate Normals that serve as a xy distortion, a gradient to fade it in (blue channel), and with visual cracks in the Alpha channel.
I later distorted the grabpass content based on the normals as directions and the blue channel as intensity over time and added the alpha channel on top of the grabpass to create visual cracking.
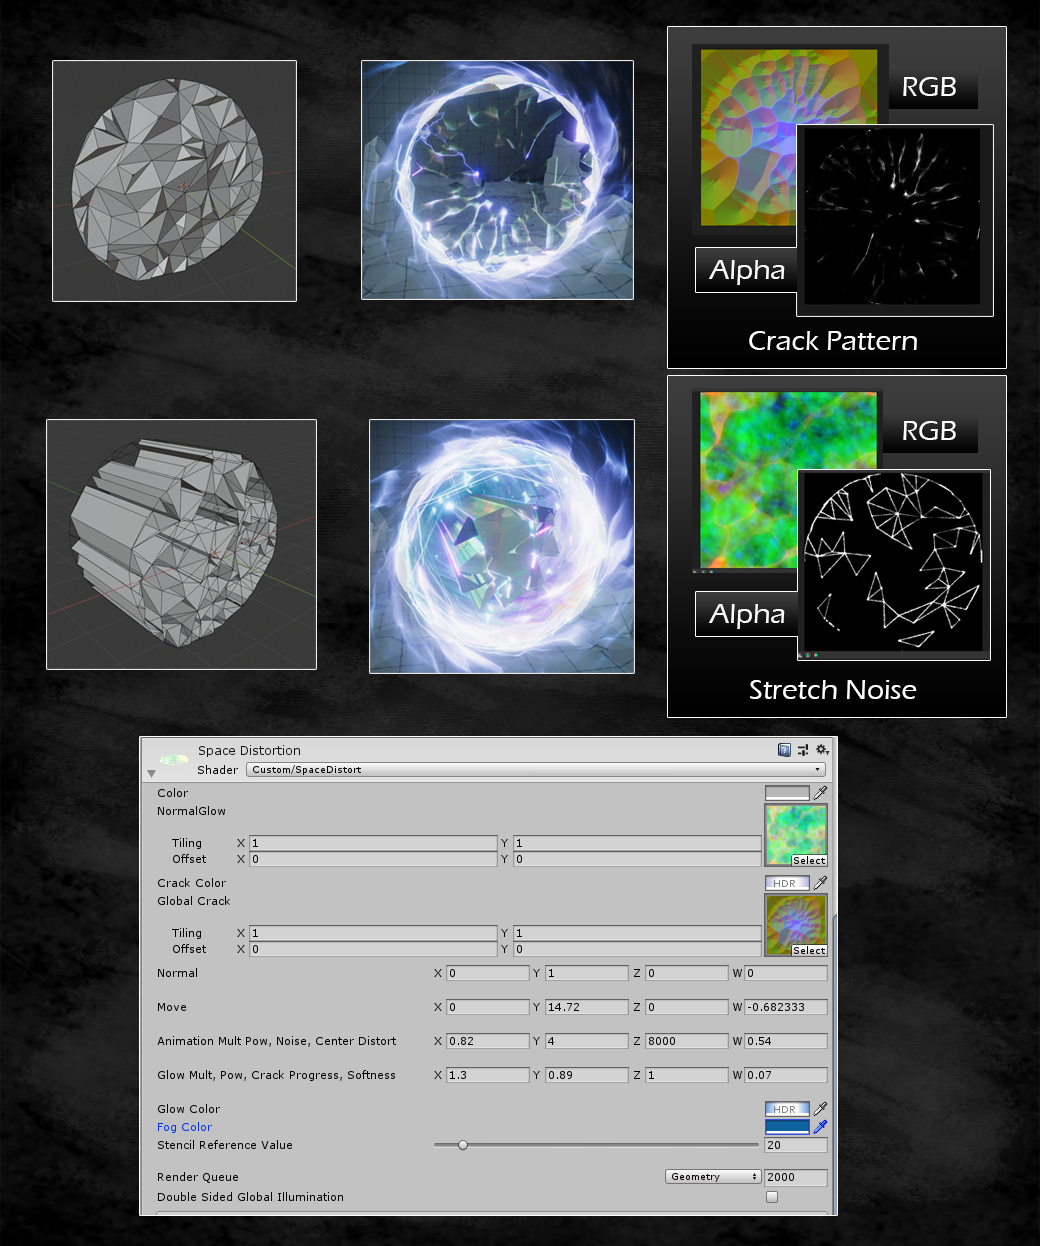
That’s basically the idea of the starting part. But we also have the shattering parts being sucked into the gate. And for that part I needed an additional set of geometry. I basically extruded the front part into the Z axis, and created a second texture for the look which just contained a couple of noises and a masked wireframe of the original UVs.
At first I thought about splitting this new part since the behaviour would be quite a bit different from the front part. But I came to the conclusion that it would be a pain later on to make the two parts feel connected and syncing their behaviour properly so I just went with masking one of them via vertex colors and this way branching a couple of features in the shader while having one common “timestep” in the material.
I fiddled a bit with additional uv sets to get some more data encoded into the meshes like the position and a gradient into the Z axis. This way I could animate the individual parts like simplified particles and make them get sucked in from the border.
At this point I could also iterate on the mesh quite a bit since the process of texture creation and behaviour was basically pipelined as long as I baked the position and Z gradient into the two additional UV sets each time (this would have been nicer in Houdini but it’s just a couple of clicks in Blender :grin: ).
As you can see in the progress images it worked quite nice and I thought to go with the approach until the end. Finally you can see the shader as well, which is rather simple. It’s just there to blend a couple of things together and control the motion animated by a single parameter.
Hope all this rather techy stuff was interesting to read and next time I’ll show a bit more of the textures I used for this project. Until then, I’m happy to answer any questions if there are any
Comments